How to Use
1. Add files
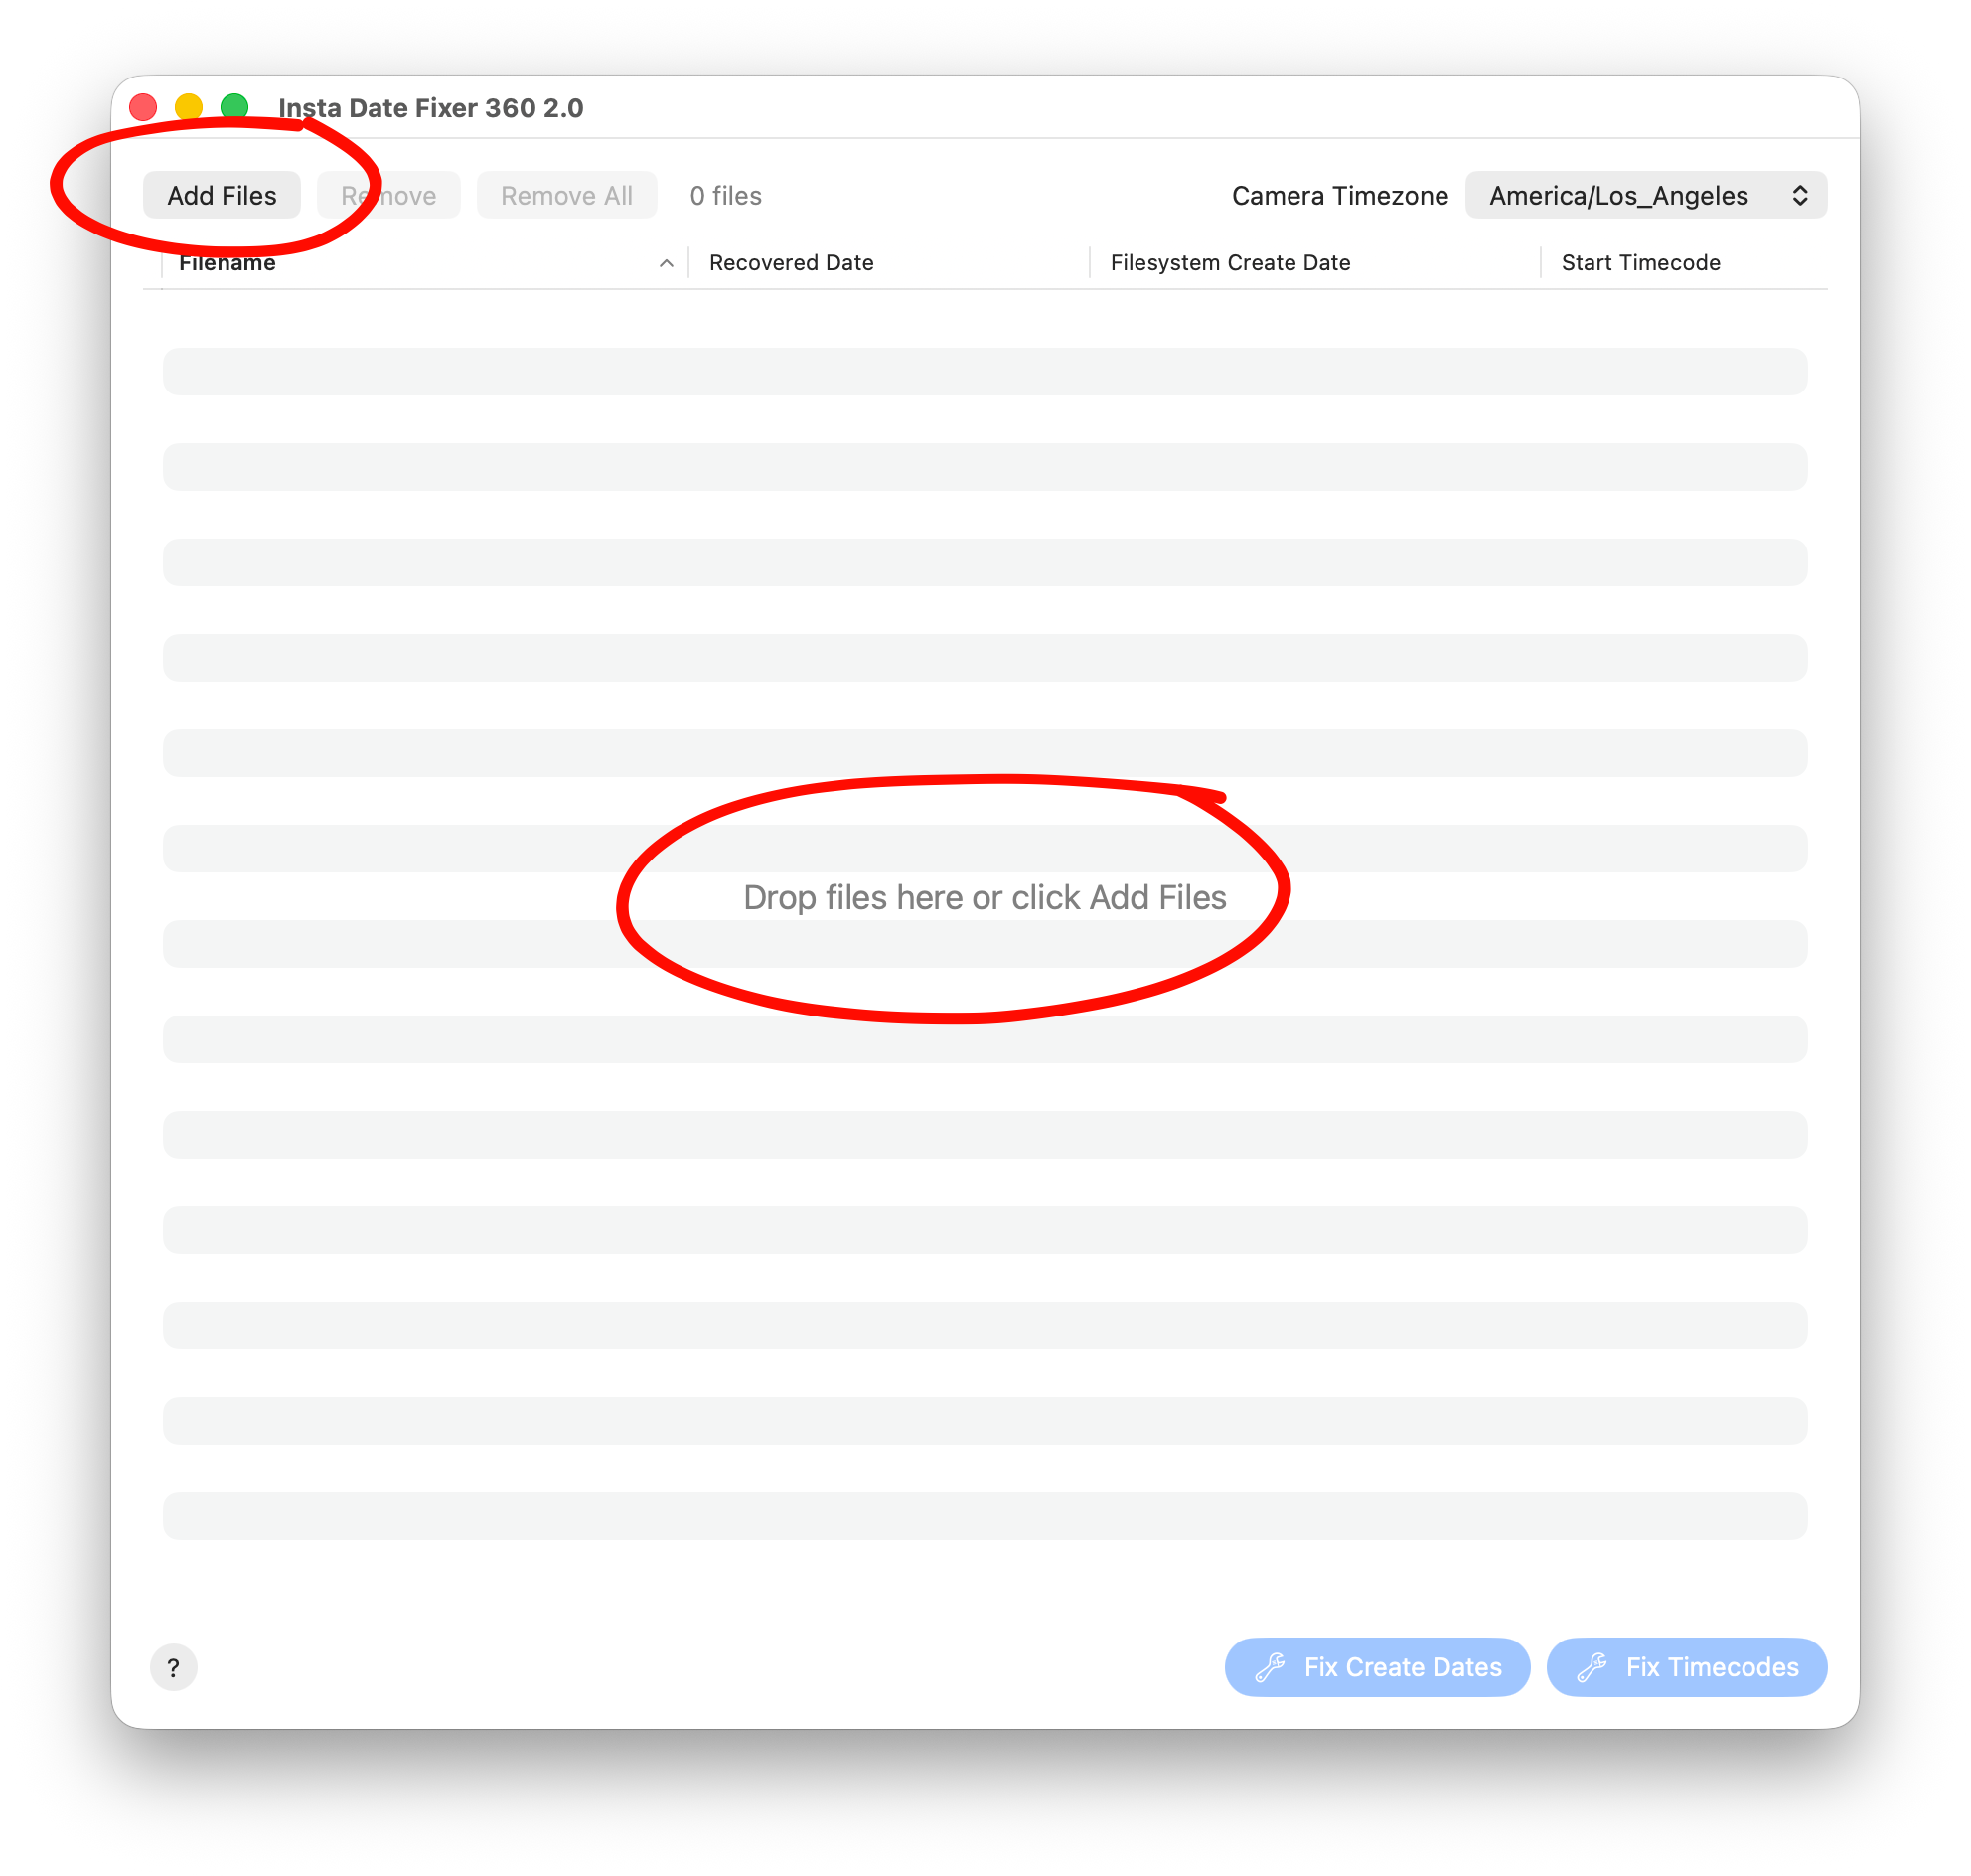
Drag and drop video files, or click "Add Files".
2. Set Camera Timezone

Set the timezone according to the camera or device that was used to record the videos.
Important: Do not skip this step! Ensure this is correctly set to the timezone of the camera that was used to record the videos or the date won't be set correctly.
3. Review
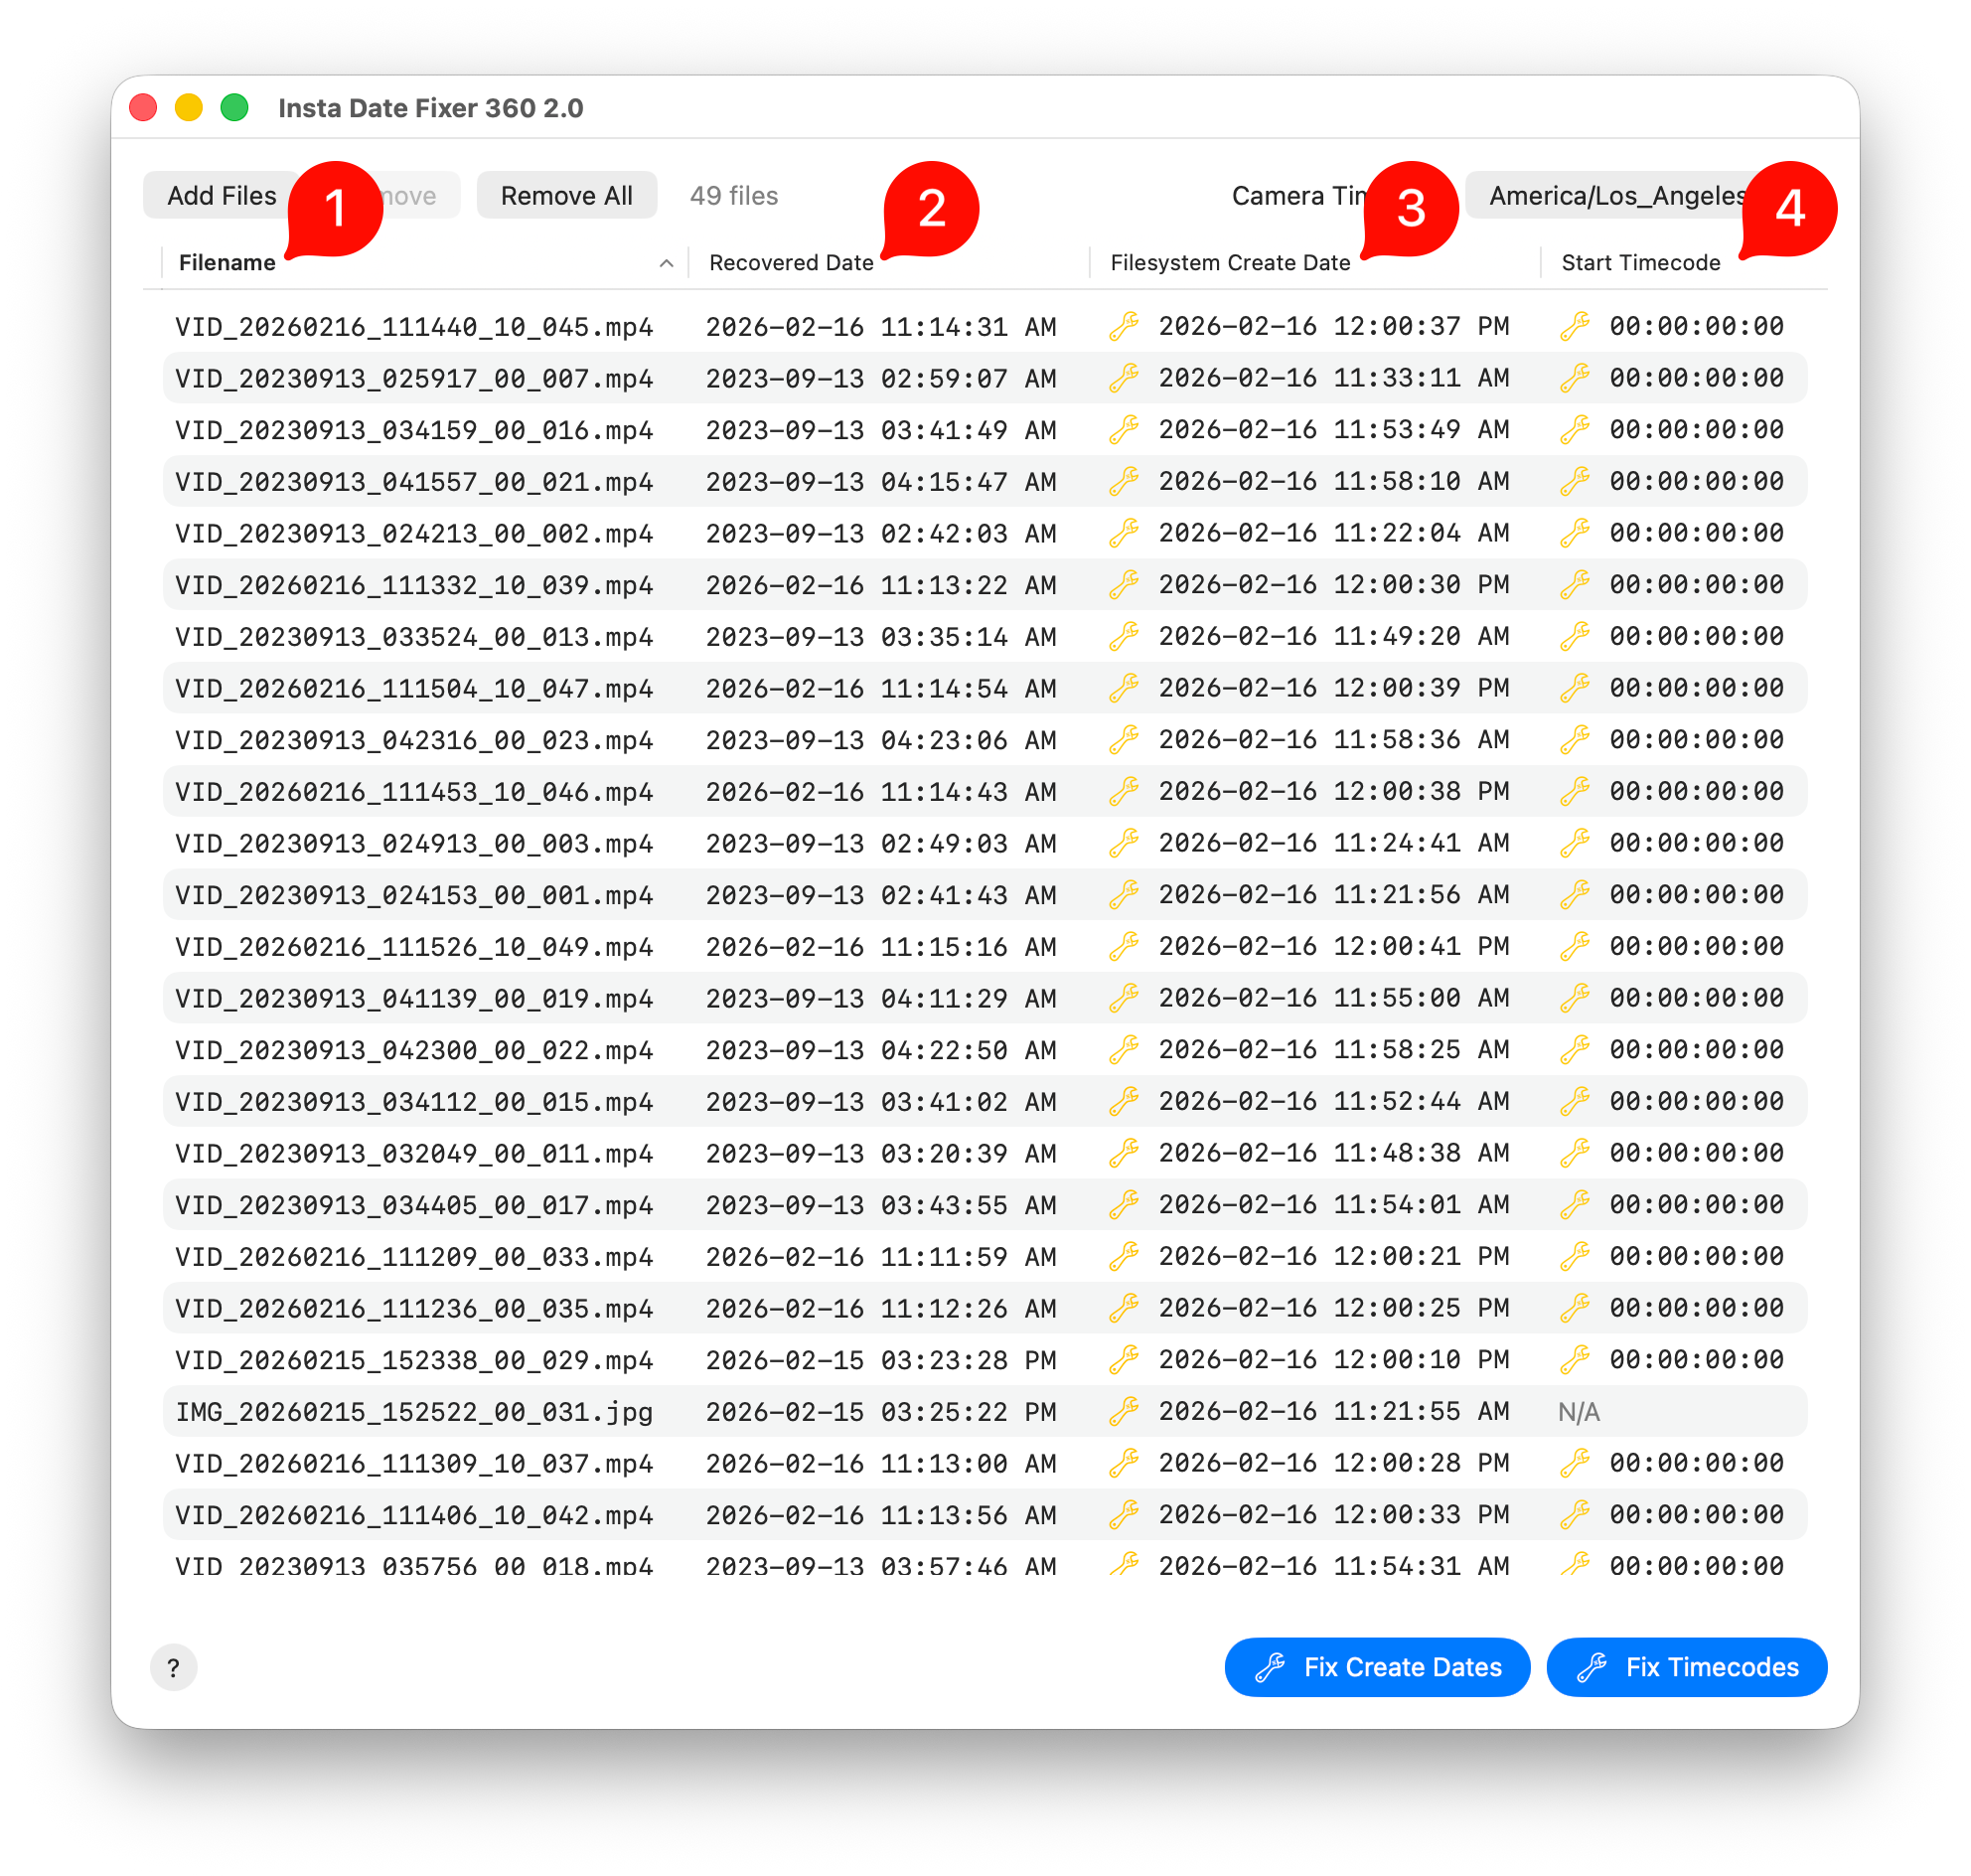
Review the table columns:
- Filename: The name of the target file
- Recovered Date: The date that was recovered from the file. If "No data" is seen, this means Insta Date Fixer 360 could not recover a creation date from the video.
- Filesystem Create Date: The filesystem create date (e.g. "Created At" in Finder.app). If this date matches the recovered date, a green checkmark will be displayed otherwise a wrench icon will be displayed denoting eligibility for fixing.
- Start Timecode: The start timecode extracted from the video file. If a valid timecode is found, a green checkmark will be displayed. A value of 00:00:00:00 means timecode data is missing and is displayed with a wrench icon, denoting eligibility for fixing.
4. Recovery

To recover filesystem creation dates, click "Fix Create Dates". This will replace the files' Create and Modified dates to the recovered date.
To recover timecode data, click "Fix Timecodes". This will replace the files' timecode data to the recovered timecode.
Once started, a progress bar will display the progress of the operation. Note that timecode recovery can take some time for larger video files. After completion, a green checkmark will be displayed next to video files denoting success.
Success! Your media files should be fixed and ready to use.